
Sep 13, 2026
Shopify tutorial: How to add sticky top Announcement Bar
Sticky announcement banners are one of the easiest ways to grab users’ attention. By creating an announcement bar/banner in your Shopify store, you can:
- Advertise or promote a product that is offering a discount.
- Promote a product collection page.
- Share important text announcements such as “Free shipping for orders above $20”.
Common Uses of an Announcement Bar
- Promote Free Shipping :Highlight your free shipping offer to encourage customers to complete their purchase, such as: “Free shipping on orders above $20.”
- Share Delivery Information: Set clear delivery expectations by displaying estimated delivery times for specific locations, such as: “Order now and get delivery in approximately 2–3 days across the US.”
- Promote Discounts & Sales: Announce discounts and direct customers to the relevant products or collections with an action button, such as: “10% off all T-shirts” → View Collection”
- Promote Coupon Codes: Display promotional coupon codes directly in the announcement bar to encourage customers to use them at checkout, such as: “Get 10% off your order with code WELCOME10.” . A dedicated coupon-code banner can make this type of promotion even more effective.
- Create Urgency with a Sales Countdown: Add a countdown timer to promote flash sales and create urgency by showing customers exactly how much time remains before the offer ends.
- Announce New Product Launches: Use the announcement bar to showcase newly launched products or collections and direct customers to them with an action button, such as: “New arrivals are here!” → Shop New Products
How to Create an Announcement Bar Through Your Shopify Theme
Shopify provides a built-in Announcement Bar feature in many themes. You can follow Shopify’s official guide to add an announcement bar through the theme editor.
Many Shopify themes offer a simple announcement bar, but it is often not sticky. This means customers may stop seeing the announcement as soon as they scroll down the page. Customizing its design and behavior can also be difficult and time-consuming, while code-based solutions may vary depending on the store’s theme.
Depending on the theme, you may have options for basic text, links, colors, and multiple rotating announcements. However, more advanced features such as scrolling/marquee announcements, countdown timers, coupon-code promotions, scheduling, customer or page targeting, animations, and greater design flexibility may not be available.
For these advanced requirements, a dedicated Shopify announcement bar app can provide more customization without requiring theme-specific code changes.
In this article, we’ll use Profy Banner & Countdown Timer to create and customize different types of announcement bars for a Shopify store.
Types of announcement bars and banners

Display large, attention-grabbing messages in a single line using a scrolling text or marquee animation. This is useful for showcasing promotions, special offers, free shipping messages, product announcements, and other important store updates without taking up additional vertical space.
For a detailed step-by-step guide, see our dedicated guide on creating a moving banner and scrolling text marquee section for Shopify.

Combine multiple announcements into a single rotating banner, with each message automatically changing after a few seconds. This allows you to display multiple promotions, offers, shipping information, or store updates without taking up additional space on your storefront.
For a detailed step-by-step guide, read our dedicated guide on creating a multiple rotating announcement bar for Shopify.

Inform and promote coupon codes through an announcement banner where customers can copy the coupon code with a button click.
What we will build
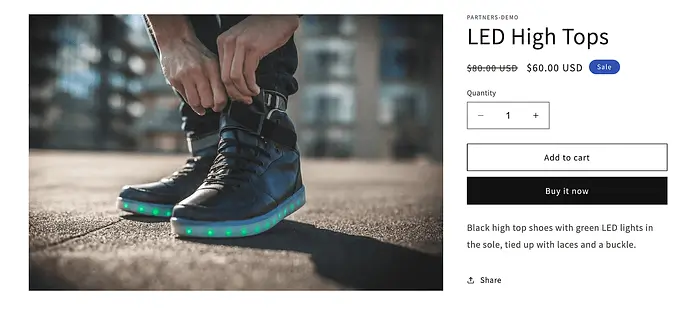
In my Shopify store, I have a newly launched product called “LED High Tops” which is being sold at a $20 discount. I want to promote this offer across other store pages to gather more sales.
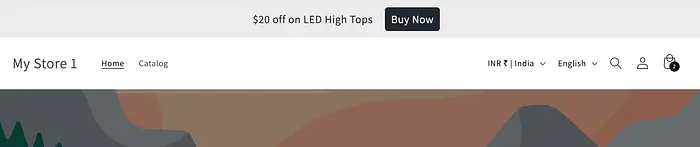
Hence I need to create a sticky announcement bar with the text “$20 off on LED High Tops” along with an action button that redirects to the destination URL.
We will learn how to create a simple announcement bar and then customize it into an animated scrolling or sliding bar with multiple announcements.
1) Install the “Profy Banner & Countdown Timer” Shopify app
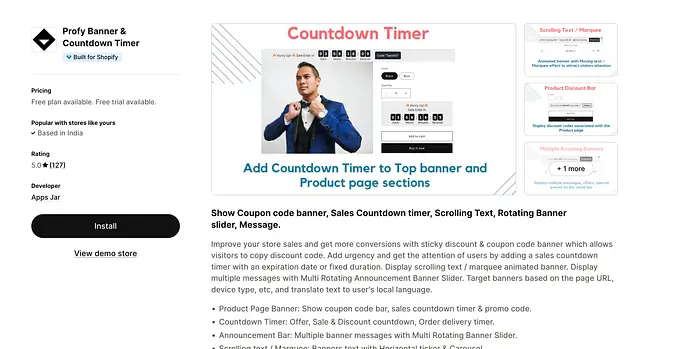
There are many announcement bar apps on Shopify, but I chose Profy Banner & Countdown Timer because it combines announcement bars and countdown timers in one app with extensive customization options.
Unlike other apps that require separate solutions for announcement bars and countdown timers, Profy provides everything in a single application.
Link: https://apps.shopify.com/profy-promo-bar
2) Enable app embed
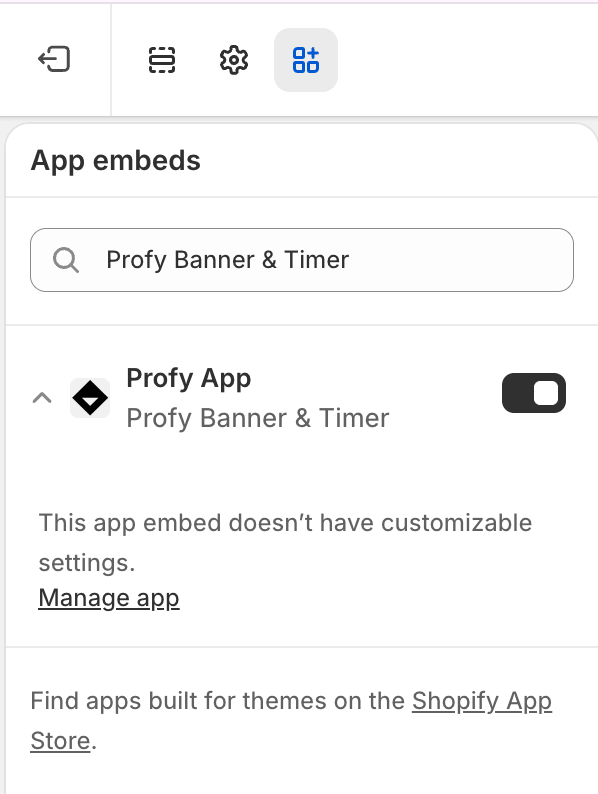
After installing the app, enable App Embed to display the banners on your storefront.
3) Click on Create Banner and select “Announcement”
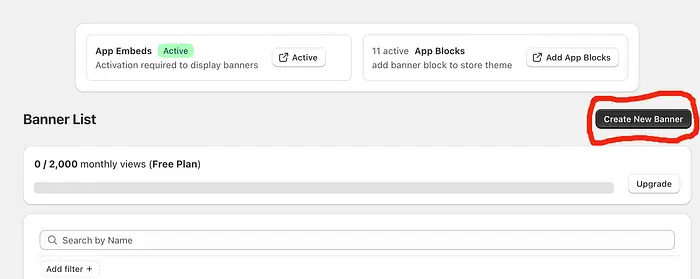
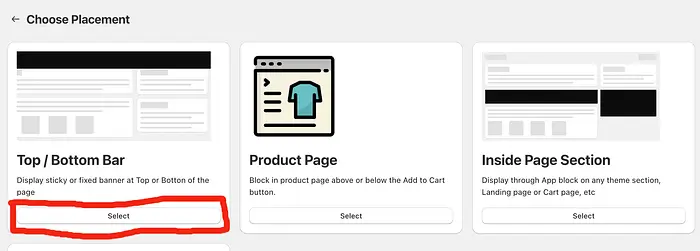
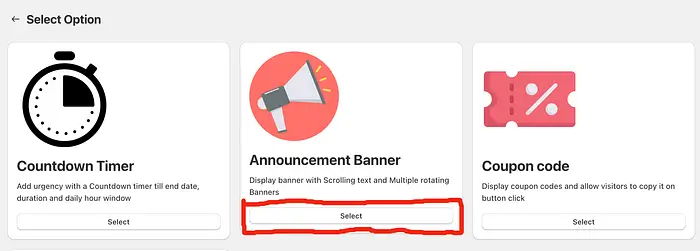
From the dashboard, click Create Banner → select Top / Bottom Bar → choose Announcement Banner → select Single Message to create the initial announcement bar, which will later be updated to animated and sliding versions.
4) Enter a banner message and destination URL
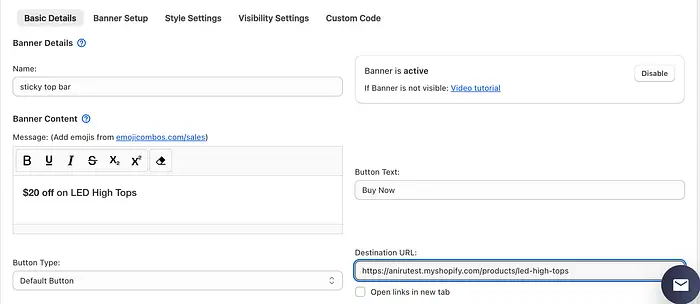
On the Edit Banner page, enter the banner name and update the banner message, button text, and destination URL.
5) Upgrade single message to Sliding and Animated Announcement bar
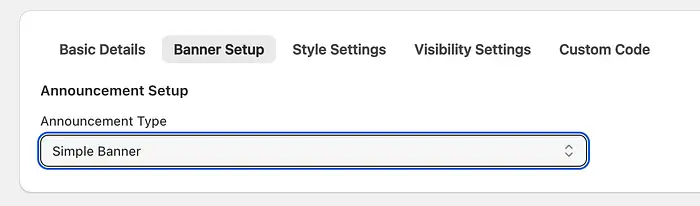
For a single-announcement banner, select Simple Banner under Banner Setup → Announcement Setup → Announcement Type.

For an animated announcement bar, select Scrolling Text as the announcement type and adjust the animation speed from slow to fast.

For multiple announcements in a single bar, select Sliding Announcement Bar. Click Add New Slide to add announcements with their content, button type, and destination URL. Add more slides as needed and adjust Slide Duration to control how long each slide is displayed before transitioning.
6) Select target pages and device

You can customize banner targeting to show or hide banners based on:
- Page URL
- Page category
- Device type
In this example, we’ll configure the banner to hide on the destination product page.
7) Customize banner design based on your Shopify theme

Customize the banner in Style Settings by adjusting colors, font size, height, templates, and background images to match your theme.
8) Configure banner position
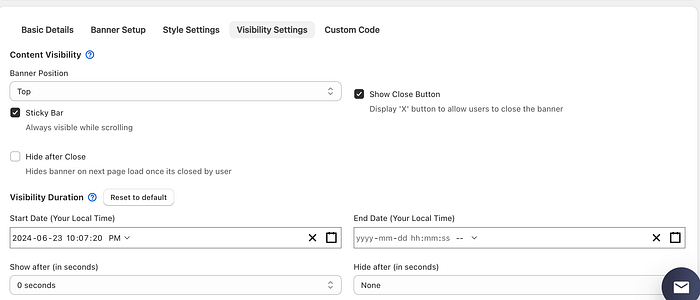
In Visibility Settings, select the banner’s position (top or bottom), enable sticky display, and set the start and end dates.
For this example, select Top and enable Sticky to keep the banner fixed at the top of the page.
9) Save and view results on the store
Finally, click Save to publish the banner. Verify that it appears on the storefront and that clicking Buy Now redirects to the LED High Tops product page.
This approach gives you a simple, effective way to advertise specials, highlight collections, or announce important store updates while keeping the customer experience clean and consistent across the storefront.